Saturday, February 28, 2015

Libre by Ladybird


Today, I'd like to show you a little tip to add colour and texture
to your chipboards with a single operation!
In order to achieve the effect seen above on the leaves,
I used acrylic paint, a stampink block, black ink and a stamp.

Start by putting a few drops of paint on the stamping block.
Then, turn it upside down on the chipboards to add the paint on the chipboard.
As you can see above, when you lift the stamping block,
this adds some texture to the chipboard that seems to be
the natural design of a leaf in the nature.
Let them dry... then stamp the pattern of your choice over the paint!
I used a book background.

And that's done, you can use them on your layout... here is mine!
Some details.
 
For this layout I used:
Circle Confetti Chipboards
And also: Lucky7Factory paper, Rose Moka words, Basic Grey letters, Lime Citron stamps

Enjoy your week end!

Wednesday, February 25, 2015

Hi - card and a tutorial by JaMajka

Hello!

This is JaMajka here :)
I would like to show you a card, very easy to make.
Color options is your choice :)
Mine was pink/white.


I used some UmWowStudio chipboards and a mask and flairs set:


And now I'll show you, how I created this card:

1. I prepared white cardstock, scrapbooking paper, 
gesso, chipboards, embossing powders, color mists,
mask, flairs set, silicone brush or something similar to apply gesso.


2. I've cut my cardstock to fit to my card base size.
 I covered it with gesso.


3. I used some color mists, just as you want -
color all cardstock or just splash somewhere with color.


4. My cardstock base is done - it has some splashes and stains.
Now it's time for a mask, embossing stamp pad and
embossing powder - just tap with embossing ink wherever you want.


5. Just like that (I've mixed light and dark pink)


 6. That's the effect.


7. I'm composing the card and I'm preparing my chipboards.


8. I covered chipboards with embossing powders (2 layers).


9. My composition is finished, 
now it's time to add some main elements.


10. My cardstock base is glued into my card base (made of craft paper).
I've added some glass cabochons and some liquid pearls.


My card is finished,
here you can see some details and close-ups :)


Tuesday, February 24, 2015

Happy, Happy, Happy! By Sindi Jeffers


Hi everyone! I just stopped by to share this layout and show you my method for making some of the elements (using my UmWowStudio goodies, of course!)

First, I traced out some various sized circles on white cardstock. Next, I covered those circles in gesso and then painted them. I like things to look a bit messy, so I just used a sponge brush and swirled the paint on.


When that was dry, I used the circle confetti mask. Again, I like a messier look, so I didn’t secure the mask to the paper. I just plopped it down and dabbed some white gesso inside the little circles.


After that was dry, I folded my circles and cut them into pieces. I left some pieces bigger, some smaller. I folded them from top to bottom, side to side, and on a diagonal so that I got lines that made the circle look like a pie chart. The photo shows a white circle that has been folded (I darkened the fold lines with a pen for the photo), and a blue circle that’s already been cut.


From there, it’s easy to arrange the pieces in layers to achieve the shape you like. I added a button and a layered square piece that I had painted and gesso’d. Happy creating!


UmWowStudio Supplies used:

Circle confetti mask
Layered squares 
Flower Confetti 


Thursday, February 19, 2015

I forgive you by Tusia Lech


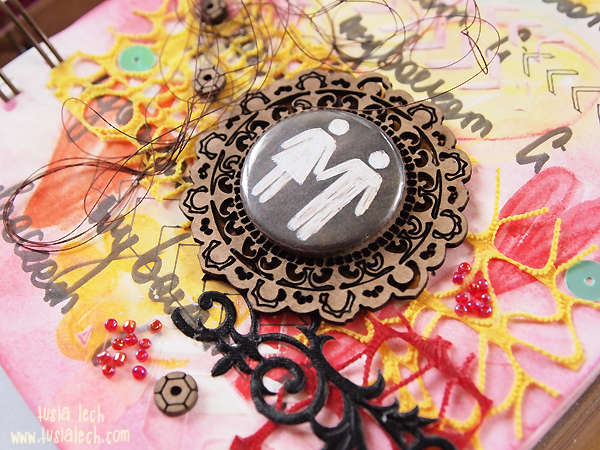
My art-journaling is always about feelings and emotions. Below you can see pages inspired by a song "Wybaczam" - in English "I forgive you". The whole background is created with words "wybaczam".


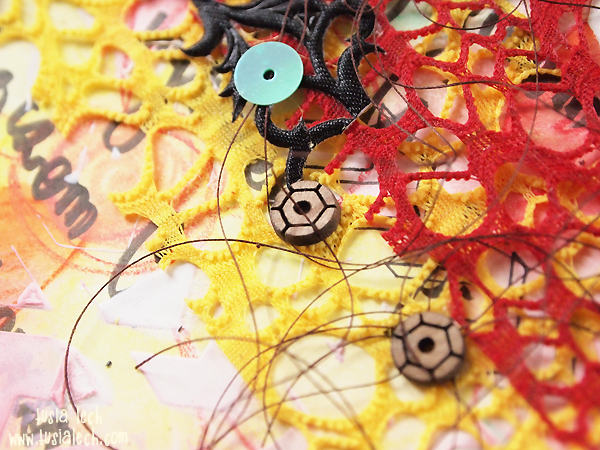
The main point is UmWowStudio flair from Sidewalk Chalk set. I placed it on the top of gorgeous doily from Doilies chip set.


For the background I have used Line of Chevrons Mask - I applied gesso through this stencil and worked also with black pen.


Look at these gorgeous Sequin Confetti! They are cut in chipboard. Don't they look amazing?


Thank you for visiting UmWowStudio blog today!
Tusia Lech

UmWowStudio supplies:

Other supplies:
Finnabair Art Journal
Finnabair White Gesso
Gelatos
Black Pen
MayArts ribbons
thread
sequins

Wednesday, February 18, 2015

Spring Tag by Jen


Does it feel like Spring might never come to anyone else? It has snowed in Central New York for a month with 3-4 feet on the ground (actually up to my windows) and the air so cold it hurts to breathe when you step outside!  I am so ready for a warm up!  So to brighten my cold, dreary, winter day, I made a spring tag with some UmWow Studio lovelies. 
 I needed some gorgeous color so after priming the chip with Faber-Castell Design  Memory Craft Gesso, I added a rainbow of Gelatos®to the tag.  Gorgeous!
 So pretty with the raised texture from the stencil and Faber-Castell Design Memory Craft Whipped Spackle.   Adding some UmWow Studio Flower Confetti and Alphas to create a fun ode to Spring!

 Doesn't that chip just look amazing with the colored Gelatos®?  Makes it all tie together (with some ribbon and canvas threads, of course).
 So, HELLO winter... here's the "#Memo". We want Spring in the worst way!  Come on, pretty please?
 A little bee flair to give it some more spring and we are done!  I'm displaying this prominently on my mantel to remind me that it will be here sooner or later... sooner please!


Materials used:
Feather Trio 

Beacon Adhesive
October Afternoon flashcard tag book
Ribbon (not sure source)